Welcome, lash enthusiasts! Today, we're diving into the world of lash adhesives, demystifying the science and best practices behind their use, and going over essential tips for optimal application and care. Whether you're a seasoned lash artist or just beginning your journey, understanding the nuances of lash adhesive is crucial for achieving stunning results and maintaining the satisfaction of your clients.
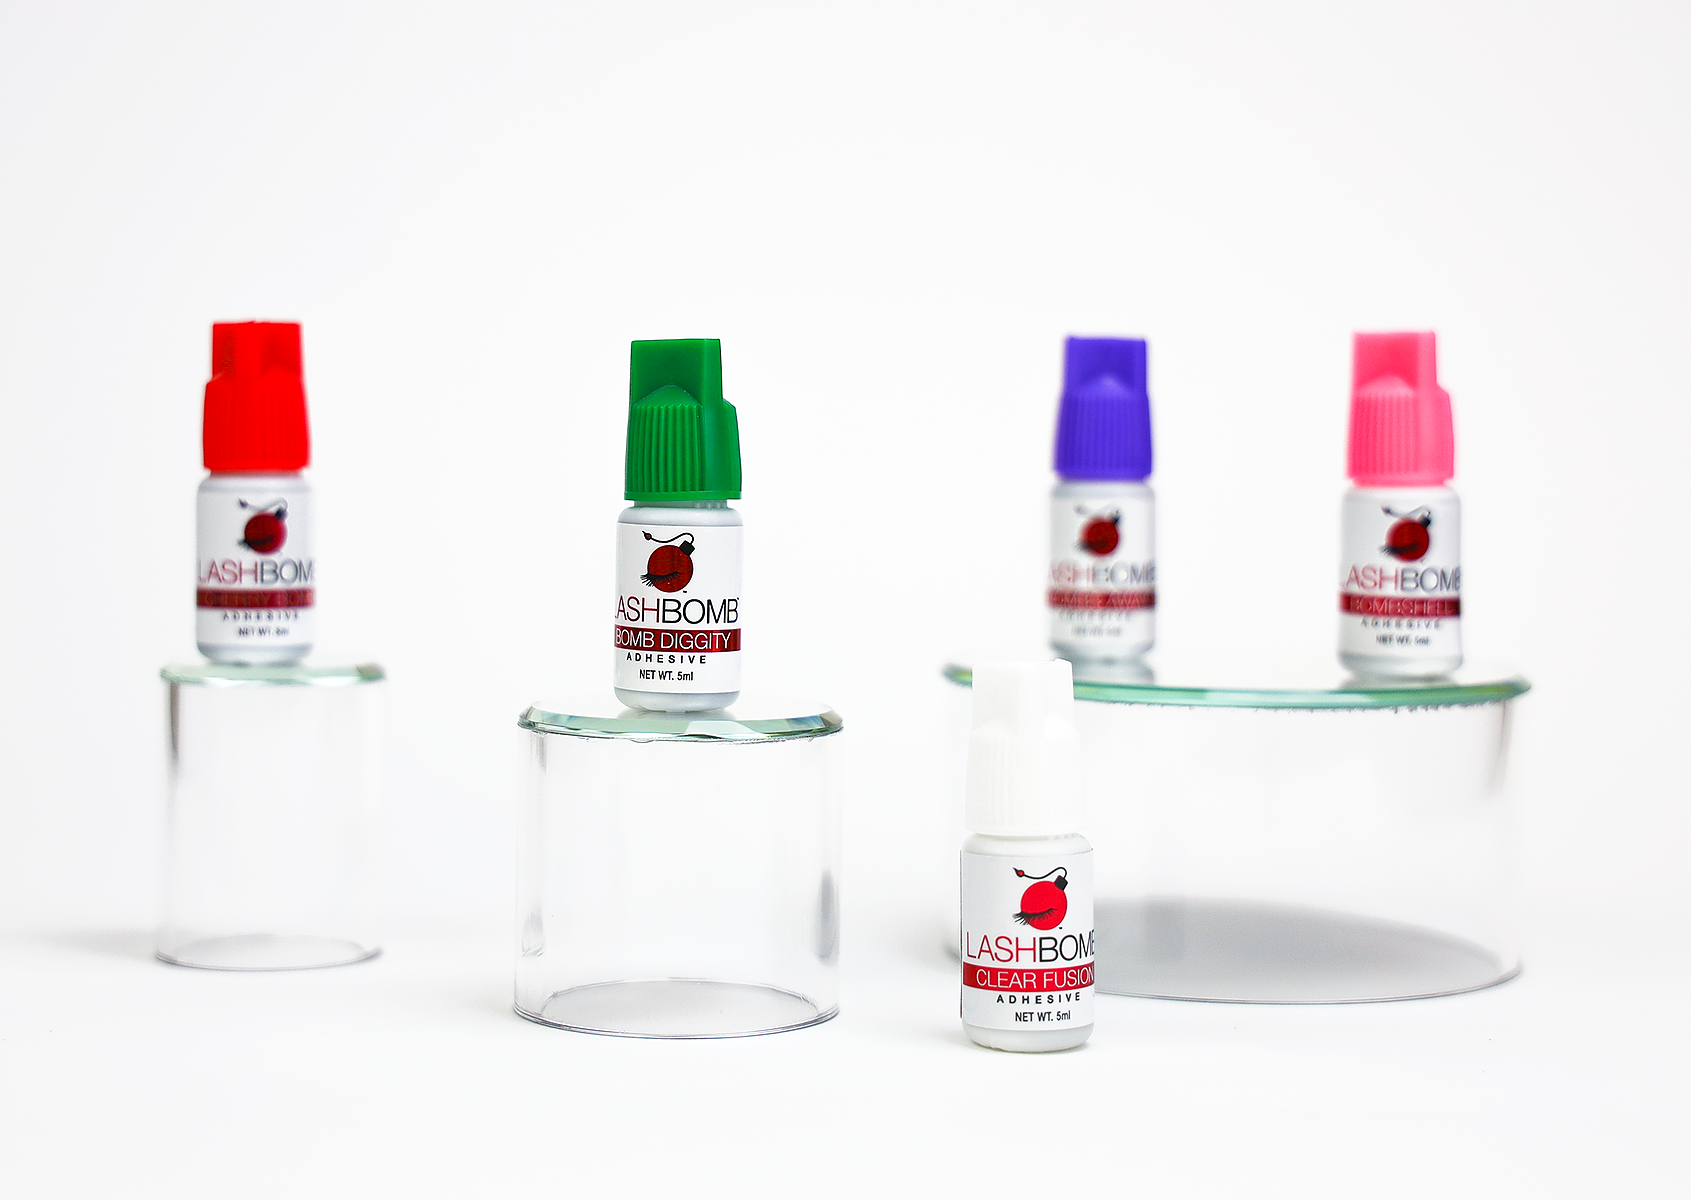
Acrylate Adhesive
At the heart of most eyelash extension adhesives lies acrylate, the key ingredient responsible for its adhesive properties. Acrylate forms the bond between the extension and the natural lash, ensuring a secure and long-lasting hold. Understanding how acrylate behaves is essential for mastering the art of lash application.
Several factors influence the curing rate of acrylate adhesive:
-
Heat, Humidity, and Dryness: These elements accelerate the curing process of acrylate adhesive. It's important to work in an environment free from excessive humidity or cold temperatures, as they can slow down the curing process.
-
Residue and Cleanliness: Any surface where you apply fresh adhesive must be clean and free from any residue of previous adhesive applications. Dry acrylate will cure wet acrylate faster than anything else out there. We recommend using our lint-free adhesive wipes post-application to ensure a clean, acrylate-free environment, as residue can be detrimental to proper curing.
Troubleshooting and Best Practices
Encountering issues with your adhesive curing? Let's troubleshoot:
-
Slow Curing: If you notice that your adhesive isn't curing as quickly as expected, consider environmental factors like temperature and humidity. Placing a small heater in your workspace can help accelerate the drying process. Additionally, ensure you shake the adhesive well between each use to prevent separation of ingredients.
-
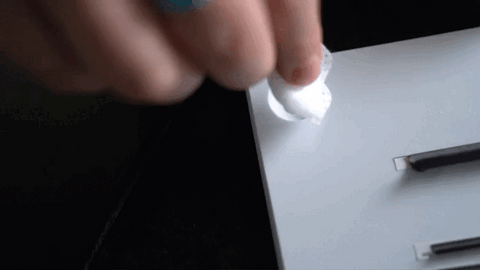
Clogged Nozzle: To avoid nozzle clogs, burp the bottle between each drop to release air bubbles and wipe the tip with a lint-free adhesive wipe. If the nozzle does get clogged, you can unclog it by gently inserting a (clean) fine needle or pin into the nozzle to remove any dried adhesive.

-
Retention Problems: Make sure that you're using an adequate amount of adhesive during application, avoiding excess buildup at the base of the extension. Be sure to brush the lashes frequently during application to promote a strong bond, and address any potential barriers to adhesion, such as oily residue or film on natural lashes. If you are having these issues, you can try re-priming the lashes- if that doesn't help, do a lash bath, re-prime and then start again.
Proper Adhesive Care
To ensure the longevity and effectiveness of your adhesive, follow these care tips:
-
Storage: Store adhesives in an airtight container away from direct sunlight to preserve their integrity. (Check out our glue vault!)

-
Shaking: Shake the adhesive vigorously between each use to maintain consistency and prevent separation of the ingredients.

-
Temperature: Store adhesive in the refrigerator before opening for the first time, then keep it at room temperature thereafter.

-
Application: Use an adequate amount of adhesive during application, avoiding excess buildup and ensuring a secure bond.
